
NDCR vs DCR solar panels: which should you buy?
DCR modules are required for the rooftop subsidy. NDCR can look cheaper only if you give that subsidy up.
Read the article →An empty terrace is just unused space. A few days of planned work later, the same square footage is producing electricity every day for the next twenty years. Homeowners often ask what actually happens in between, how disruptive it is, and how long they should set aside. Here is the sequence we follow on a typical residential project.
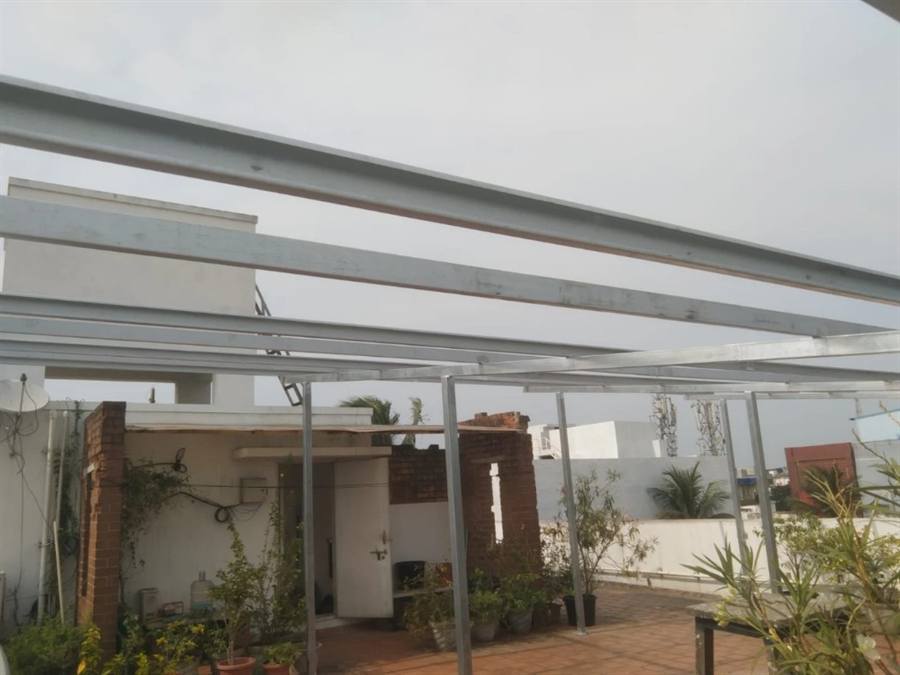
Before anything is ordered, we measure the usable area, track shading through the day, check the structural condition of the roof, and look at your meter, distribution board, and cable routes. We go through a year of your electricity bills at the same time, because the roof decides what is possible and the bills decide what is worthwhile. This is covered in detail in our article on what a site inspection involves.
Next comes the layout: how many panels, in what rows, at what tilt and orientation, how they are grouped into strings, where the inverter is mounted, and how the cable runs. Getting this right on paper is what avoids improvisation on the roof — improvisation is where leaks and untidy wiring come from.
The structure goes up first. Depending on the roof, this means pedestals or foundations, drilling and anchoring, and waterproof sealing at every penetration. Then rails, clamps, alignment, and levelling. This is the stage where the terrace looks most like a construction site, and it is also the stage that most determines how the plant holds up over the years.
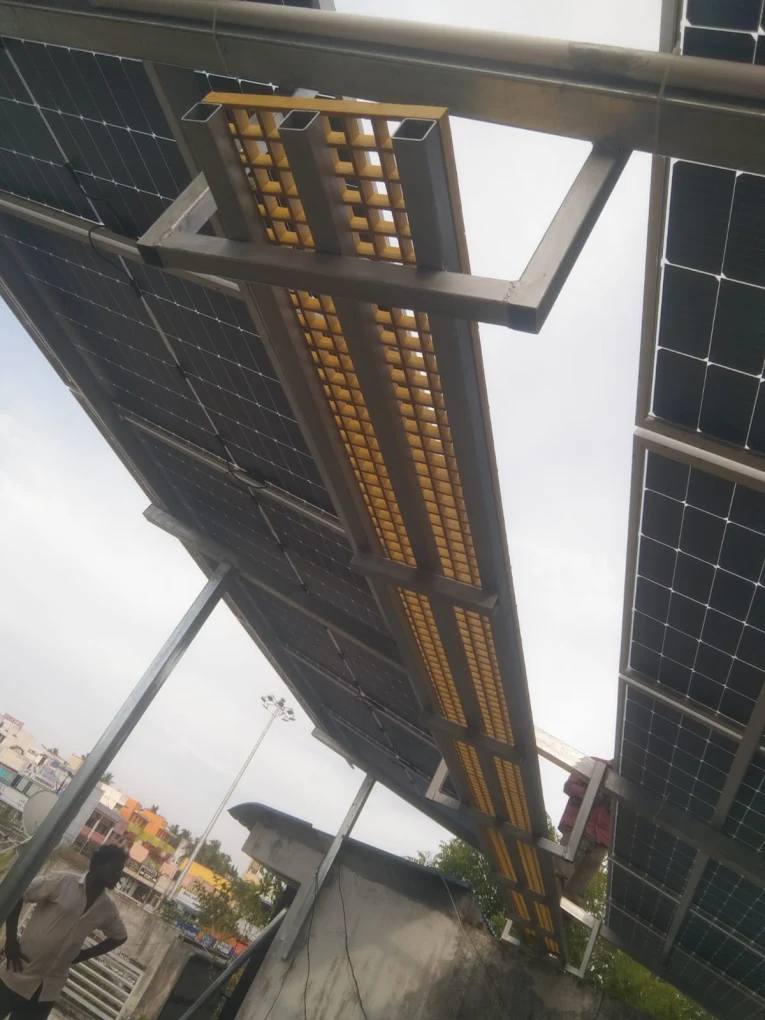
Panels are lifted, positioned, aligned, and clamped to the manufacturer's specified torque, then connected into strings using MC4 connectors. This is the part everyone photographs, and it is genuinely satisfying to watch a bare frame fill in over a few hours.
The inverter is wall-mounted in a shaded, ventilated position with the clearances the manufacturer requires, then the DC and AC terminations are made and the unit is configured for your system.
AC and DC wiring is routed and dressed, the earthing system is installed and connected, and isolators, MCBs, and protection devices are fitted. Cable management belongs to this stage too — every run secured, nothing chafing, everything labelled.
Before the system is handed over: voltage and polarity checks, insulation resistance measurement, earth continuity verification, inverter startup, and a performance check against expected output. Where the inverter supports it, monitoring is connected so you can see generation on your phone.
We clear the site, walk you through the system, show you how to read your generation and what the inverter indicators mean, and hand over the documentation you will need for warranty claims and subsidy paperwork.
How long does it take? The installation itself for a typical residential system usually runs across a few working days once materials are on site. Around that sit lead times for equipment and the separate timelines for net metering and subsidy processing, which depend on the utility rather than on us.
You do not need to vacate the house. There will be drilling noise during the structure work, roof access will be occupied for the duration, and there is normally a short planned power interruption when the connection is made at your distribution board. Beyond that, daily life carries on.
You can see finished projects across Chennai in our work gallery, or start with our solar installation in Chennai page if you want a full rooftop plant.
Keep reading
DCR modules are required for the rooftop subsidy. NDCR can look cheaper only if you give that subsidy up.
Read the article →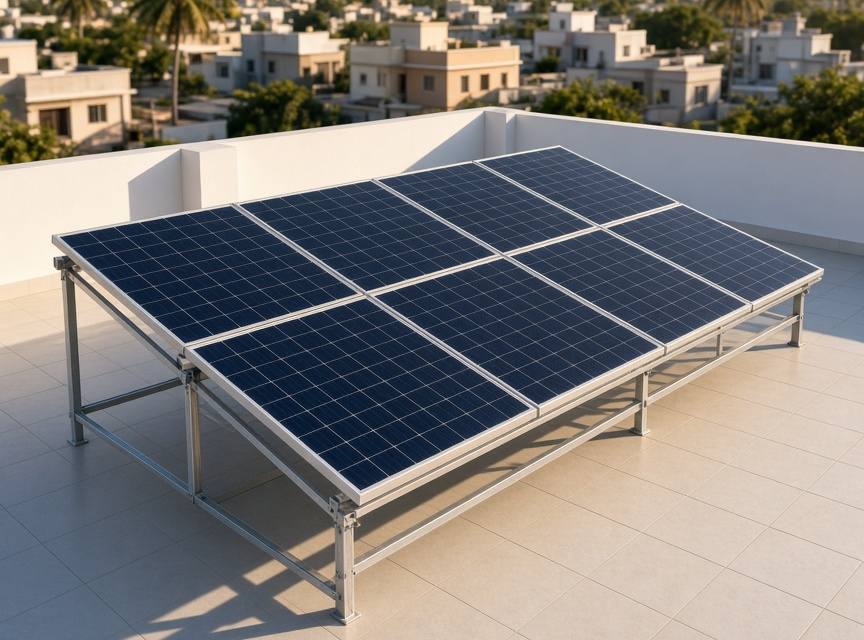
Heat, monsoon, TANGEDCO net metering, subsidy, and how to tell a real rooftop quote from a headline kilowatt price.
Read the article →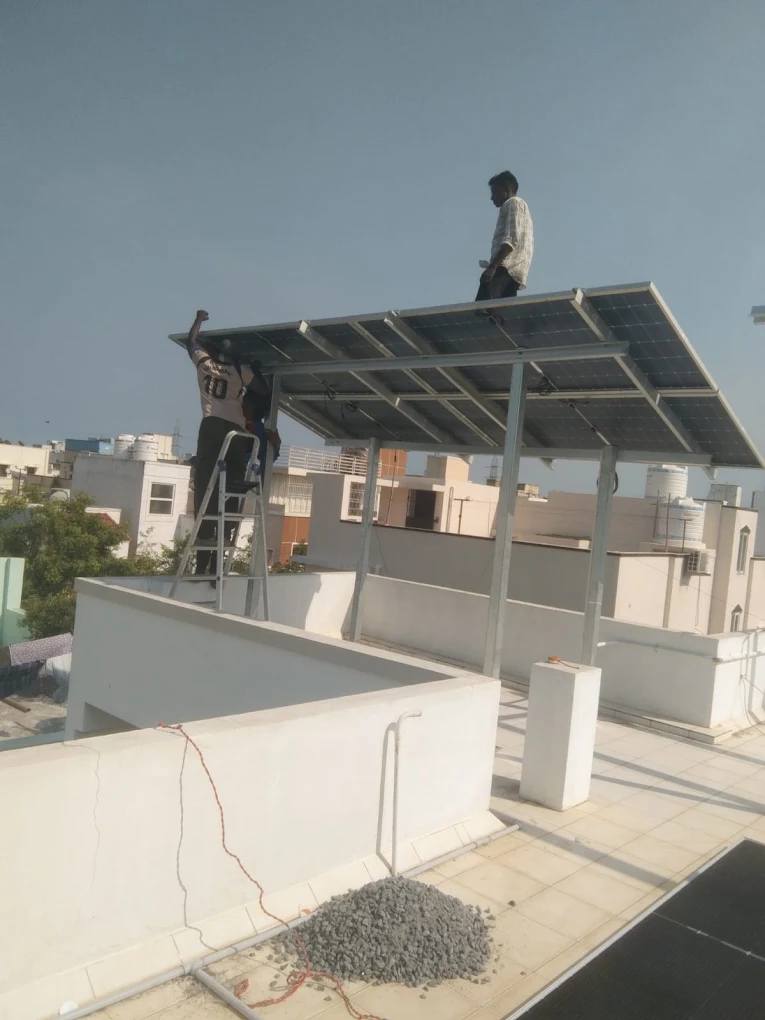
Terrace constraints on south Chennai houses, net metering from here, and why a Medavakkam Main Road team still matters after switch-on.
Read the article →Next step
Book a free site inspection and we'll show you what your terrace could generate.